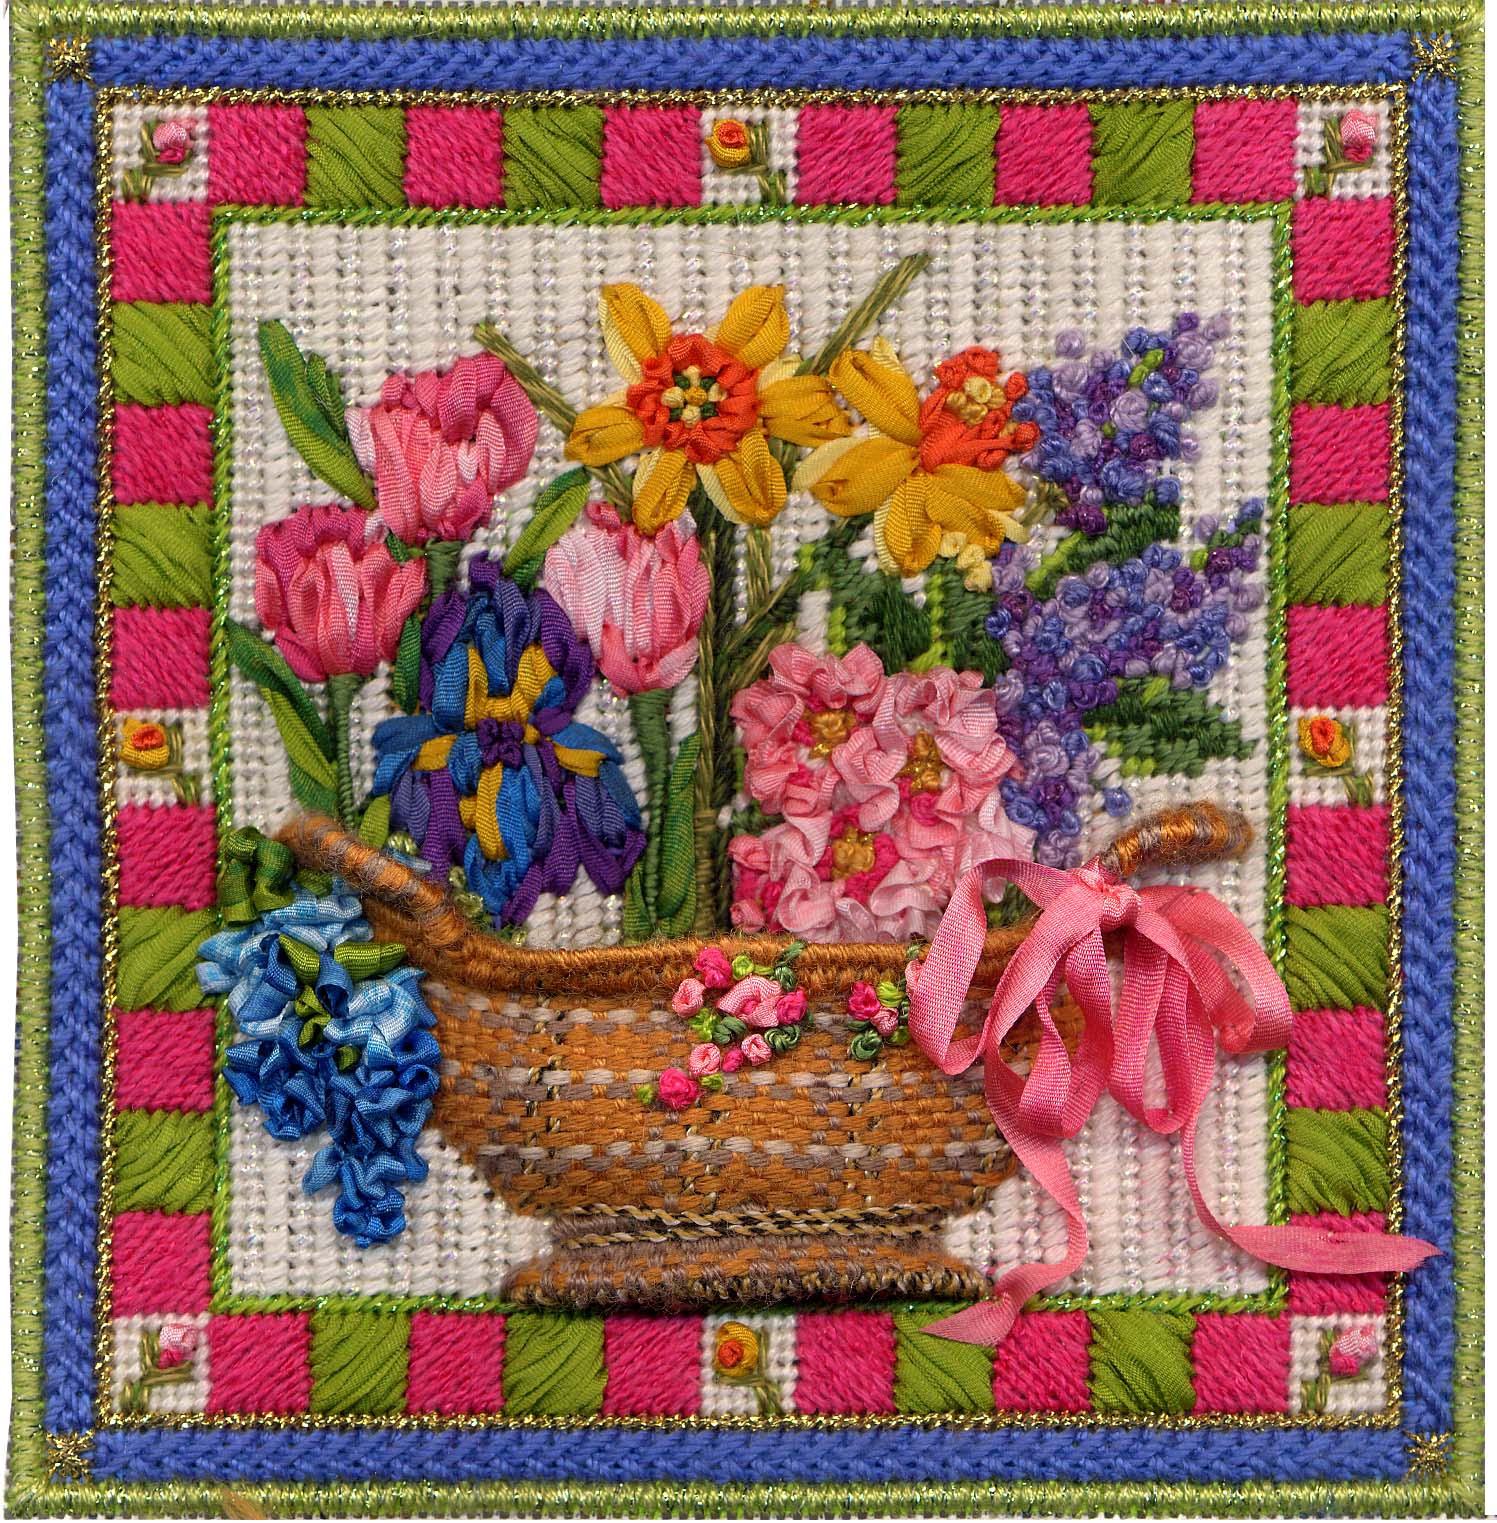
Showing posts with label Sampler. Show all posts

Friday, January 15, 2016

New Designs from Kelly Clark Studio!

What's New from 2016 January TNNA MARKET?

LOTS of NEW DESIGNS!

Kelly Clark & Brenna Pollok of Colonial Needle
at the Kelly Clark Booth

All the new designs are loaded onto the web-site

www.kellyclarkneedlepoint.com

check out the new finished pieces on the front page slide shows!
Then click on the What's New link and peruse through 
the photos of over-80+ new items!

I am very excited to announce my new color palettes for
Presencia America., available thru Colonial Needle Company
HALLOWEEN & HOLLY
These are available pre-packaged in Finca Floss
Perle No.8, &  Perle No.16.


The packaging makes it so simple to toss in your travel bag for an 
Ornament Project!  Quick and Easy without the worry of pulling alot
of threads.  The Floss packages come with 3 skeins of each of the 6 colors!

Have your Local Needlepoint Shop call and order for you today!

But first, I wanted to talk about Perle No.16...
It is my new favorite skinny thread!
FAVORITE!

Check out how cool these stitches look in Perle No. 16:

Color #8069 for the Diagonal Long Stitch

 Colors #4228 & #4799 for the Laid Vertical Channel Stitches...
just look how that skinny thread creates just a whisper of Background!
I LOVE it!

Color #8069 is used in two different stitches here.
On the left it stitches the open reverse slant Scotch in the background.
On the right it is a Double Elongated Cross at the intersection of diagonals created by the Velvet.
Color #4812 wraps the wire stem and frames the leaves.

And here are some additional Pictures of new items:


The Winter Village is available with Stitch Guides!!!!!
Item numbers from left are:
KWV 7-18, KWV 4-18, KWV 1-18, KWV6-18, KWV 11-18, KWV 2-18 and KWV 3-18

KCA 29-18 Folk Art Flower Sampler
Available with Stitch Guide, Accessory Kit for all the wire and Appliques and a 
Presencia Thread Kit of all cottons used!


Chubby Pears Front and Back views!
From left: KCA 1426, KCN 1428 & KCN 1429
Available with Stitch Guide & Presencia Thread Kit!

And from the Tiny Basket Series:

 KCB 01-18 Shells at the Seashore
 KCB 03-18 Halloween Tricks
 KCB 02-18 Christmas Baking

Now, quick go check out ALL the new Items on the website!
Here is that link again:

www.kellyclarkneedlepoint.com


Happy Stitching All!Kelly


Sunday, December 13, 2015

Stumpwork Flower Sampler

Stumpwork Flower Sampler
KCA 29-18

 I am so excited to be teaching this piece at the TNNA Market in San Diego next month!
Before I painted the piece it started off as a sketch, 
looking like this:

The Class is focused on Stumpwork and here are a few sneak peeks of the stitching:
A Busy Bumble Bee and Blueberries
(Wings not attached yet in this photo!)

a Whimsical Blue Flower

Thistle Flower and Gooseberries

a Pretty Poppy Flower

Fanciful Echinacea and Red Daisy

The Flower Vase

If you are attending the TNNA Market and would like to learn some of these
techniques, the class is on Thursday, January 7, 2016
Please sign up!

If you are not a member of TNNA and are interested in stitching this piece, 
it will be available for sale
 at the TNNA Market, January 9-11, 2016
along with the Stitch Guide and Accessory Kit .
Have your LNS order it for you.

HAPPY STITCHING, ALL!


Sunday, March 9, 2014

Background Stitches all completed on Halloween Crazy!

Now it is time for the good stuff!
Seam Treatments and More Embellishing!
I Can't wait!  I have lot's O' Goodies in mind!

And a few close ups of the last sections stitched:
Along came a Spider!

Or Nu Jack-O-Lantern!

Sunflower!  

This is soooo exciting to be so close to finishing another canvas!

Just need to get into my Zen place where I can completely
let all other thought drain away and just allow the
"Out-of-the-needlepoint-box-thinking" to
take over.  Face it, when we stitchers look at the piece
above, it would normally be considered done...every section is stitched...
there is nothing 'Un-done" on the canvas.  

Not for Crazy Quilting!  No-no-no.  
Not done!

SOON!


Tuesday, February 12, 2013

How to Fill an Empty Basket!

 Basket Inspiration!

I started the Sweet Pea Sampler in Early July.  One of the first dimensional finishes,
on the Sampler piece, was my woven Basket in the lower right-hand corner.  It remained empty, 'cause I just could not decide what I wanted to put in it.  As I was working on the rest of the piece, I would look at the empty basket and think:

"Hum, what kind of basket are you?"


"Are you a Stitching Basket?"

This is the basket on my Classic Stitching Santa.   When I painted the
Sweet Pea Sampler, I modeled the basket after the one above, thinking
it would be another stitching basket.
But, as I worked, it was telling me it did not want to be a stitching Basket!

"Are you a Fruit Basket?"

Like Rebekah is carrying to the first Thanksgiving.
It could be filled with stumpwork appliqued and beaded fruit?
or

"Are you a Vegetable Basket?"

Like the Wampanoag Indian Squaw is carrying to 
the First Thanksgiving.  It could be filled with stumpwork, appliqued 
and beaded Vegetables?
or

"Are you a Springtime Flower Basket?

It could be filled with realistic Silk Ribbon-work Flowers,
like the Seasonal Basket above?

The problem was that the Basket was answering,
"NO"
to every thought, or idea or suggestion that I had!
 The rest of the Sampler was nearly completed, and still 
it was a 
VERY EMPTY BASKET!
YIKES!
Market was coming in less than a month and the crunch was
on to finish and frame this piece!
"What should a stitching gal do?"

Then
on January 9th, 2013
Carolyn Hedge Baird posted this picture on Facebook:
It was stitched by Dr. Margot, one of her students.
I just about fell over! 
GORGEOUS!  
LOOK at that Bike Basket Brimming with Flowers!
Finally, 
my Basket just screamed at me,
"This is it!  This is what I want to be!"
THANK YOU
to Carolyn Hedge Baird and Dr. Margot! 

I now had my inspiration...and couldn't wait to get started
filling my basket!  But it was a Saturday night and I didn't have
alot of the right beads...well I'll scrounge in my stash, dig
through the girl's craft beads, pilfer my jewelry beads,
and see what I can do...
here was what I did that night:
 It was skimpy, and it wasn't the right combination of beads...
but it was Exactly What The Basket Wanted!
Hooray!  The next day I sourced out glass floral beads,
e-mailed with Carolyn Hedge Baird just to be sure,
she said:
"Yes, pile on the beads is what I would call it!  Pile them on in an 
artistic manner!  Looked at your picture and the basket is beautiful, 
just needs more flowers so just add a bunch more and maybe 
some loops of green silk ribbon 4mm hither and thither." 

I was sooo excited to get Carolyn's advise!
That Sunday Night, I ordered beads.  When they arrived on Tuesday,
 I had already torn out the first set of beads and had an empty basket
waiting to fill!
Hooray!  It is done!
My Gorgeous Beaded Glass Flower Basket!
I could now finish and frame my Sweet Pea Sampler!
Thanks for viewing!
and Happy Stitching, everyone!

Kelly


Sunday, February 3, 2013

BRAND NEW WEBSITE!

HOORAY!

Check out my NEWLY Designed Web-site!
It went live yesterday morning!

www.kellyclarkneedlepoint.com

We are at the TNNA MARKET in Long Beach, CA!

Almost all of the NEW designs are on the site in the What's New section...
EXCEPT,

Eight New Patterned Christmas Pears...will post those later today!


Sweet Pea Sampler Finished

More to come Later.....
Keep checking back
:~)
Kelly


Sunday, September 30, 2012

The Koi and a Turkey Preview!

Here is the Profile Shot of this wonderful Koi:
Isn't the height and depth Fantastic?

AS promised, The directions follow:
Step 1:  Assemble Your Supplies.
 The supplies used are: 
1.) Orange sewing thread.(I use either, Molnlycke or Gutermann)
2.) Two shades of 4mm Orange Silk Ribbon.
(I used River Silks #101 & #12)
3.)  A small strip of Orange Felt...any shade will do.
4.) DMC Memory Thread...Orange
5.) Sparkle in Orange from Sundance Designs
6.) A size 24 Tapestry Needle, and a Sharp sewing needle.

Step 2: Cut pieces.
 Cut  3 " lengths of both Memory Thread and Sparkle 

Step 3, 4 & 5: Start the assembly process
Step 3: With the Memory thread, shape your outline for the Koi.
If using the painted canvas..., lay the thread on the painted image,
bending and molding to conform to the outermost shape of the Koi body.
Step 4: Pinch and twist one end of the sparkle thread and tie it firmly with
the sewing thread...leave a good 2 thread tails of 3 inches each.
Step 5: Roll and shape the felt to size of Koi body, then stuff the felt shape 
down the open end of the tube.

Step 6: Attach to canvas 
(In the photo below, I worked in the margin in order to take this shot...
and clearly show how the step looks) 
Lay the pinched end of the tube on painted image, pulling the thread tails 
through and tie down to canvas.  Now, lay the Memory thread shape over 
the top and start to tack down in place.  As you are tacking, catch in the 
sides and edges of the Sparkle stuffed tube.  
(Don't be afraid to really 
smash and mold this into the fish body shape you desire.) 
Cross the lengths of Memory thread over each other at base of fish body, 
smashing the tube flat against the canvas, tacking all in place.  
Curl the excess lengths of Memory thread around a laying tool 
into an elongated spiral.

To Finish:  Ribbon Stitch and Trim
Add Japanese Ribbon Stitches to create dorsal fins at top 
& pectoral fins at bottom. 
The Ribbon stitches for tail should fit around and 
behind the end of the tube.  Trim the Spirals to length of painted 
tail.  Trim the tube to same length.  
Add a black seed bead for fish eye.
To create the Koi 'whiskers', use sharp embroidery scissors. 
 Trim out all of the foil & metallic fibers of tube at 'mouth'.
Trim the remaining hard fibers of tube to desired length.

And that is our Koi!

And now for a few sneak peeks at our Handsome Tom Turkey:


On that Note,
I bid you adieu.
Happy Stitching, one and all! 


Thursday, May 3, 2012

Christmas Crazy Quilt Under Way!

The Christmas Crazies have begun!
No not shopping...
Stitching!
The minute these canvases arrived in the Studio, I wanted to grab
stretcher bars, staple gun, tape, threads and get started.  The feeling was quite
palpable!  However, I was good and held off for a couple of weeks!
This is so Cool!
I got started while I was out in Tucson for Dad's Funeral.
My good friend, Colleen Church, gave me some sage advice before that trip.
She said, "Don't take any work projects that have a deadline or are part of a Class
or Club.  You don't want to feel any pressure, or have that piece trigger any added
anxiety."   I thought about it and agreed.  This Christmas Crazy was the only piece I took
with me on that trip.  That in itself is rare.  I usually take a minimum of four projects on every
trip!  And it is often about 6 or 8!  You know how we Stitchers are...what if we run out of
things to work on?  What if I need to buy a thread for one of these pieces, and there is a great
shop to visit where I am going?  What if I decide to go to an Open Stitch group and I can't
decide which piece to work on?...better take several just to be sure!
I figured, "If I am in the mood to stitch, I can, but if I'm not, then no
big problem.  I will be writing a guide for this one, but there is no looming time-frame, at all!


I am having so much FUN picking threads and stitches! 
My goal with the selections is always to create an interesting patch with a minimum of 2 different
thread elements for each section.  I also love 'Repeating Themes'. 
Checkerboards, for instance!  Love 'em, have to have 'em! 

I have already started to think about what seam treatments I will use and colors for
silk ribbon...it definitely needs Chartreuse...that's a given!

But now I must put fabulous Christmas Crazy down for awhile and get back to work 
on my 'real' projects!

Posting Very Soon 
will be 
The Finished Thanksgiving Scout!
Until next time,
Happy Stitching!

PS. The way cool & Blingy Needle Magnet is from Accoutrement Designs!
Isn't it perfect for this piece?


Tuesday, July 26, 2011

Kelly's Stump-work Sampler

Good Morning, All!
A Few of my Favorite Things Sampler

I have posted several pics of my Stump-work Sampler piece, above, on Stitcherie, and got to thinking it's about time to blog about it.  The idea came to me last summer (August 2010, to be exact!), when doing some research on Stump-work.
Research?  That's a fancy justification for loading up on books at Amazon.com! Ha-ha! LOL!
Anyway, looking through the books, it became apparent that the majority of the work was coming out of Australia, and was worked on linen, in the form of Traditional Embroidery.  What's up with that?  Hum?
We could work the same type imagery into Needlepoint!  What about a Sampler, of sorts?  A sketch was begun with my vision starting to form.  What should I do? Paint a Canvas?  Well, maybe later...I wanted to get started, immediately!...and it was after 11 pm!
There I was pulling out a piece of Ecru 18 Mesh Canvas, drawing the outlines for the Sampler, pulling threads, figuring out some of the stitches.  Stretcher bars?  I didn't have any the right size!  AGH, Darn the luck!  Not to be stopped, I found an old plain wood frame that was roughly the same size...?  Out came the stapler gun, and I was in business! (Don't worry!  
First time Colleen Church saw the piece, she whisked it away from me and put it on a set of proper stretcher bars!!!)  
Here is the beginning with first few backgrounds started:
and then with Rooster in oval, standing in his Silk Rose Garden:

and Rooster today:

One of my goals with the Sampler was to show the same image in several different forms or stitching techniques.  Hence the Pansy in Silk Ribbon, Silk Floss and dimensionally in Needle Lace on wire!  I will continue to blog about and show different sections and why I added them to the Sampler.  Oh!  I collect Roosters, and they are all over my Kitchen and Family Room!

So, that's all for now, Folks!
Happy Stitching!